


Insulated water bottle for hiking: how to choose and care for it
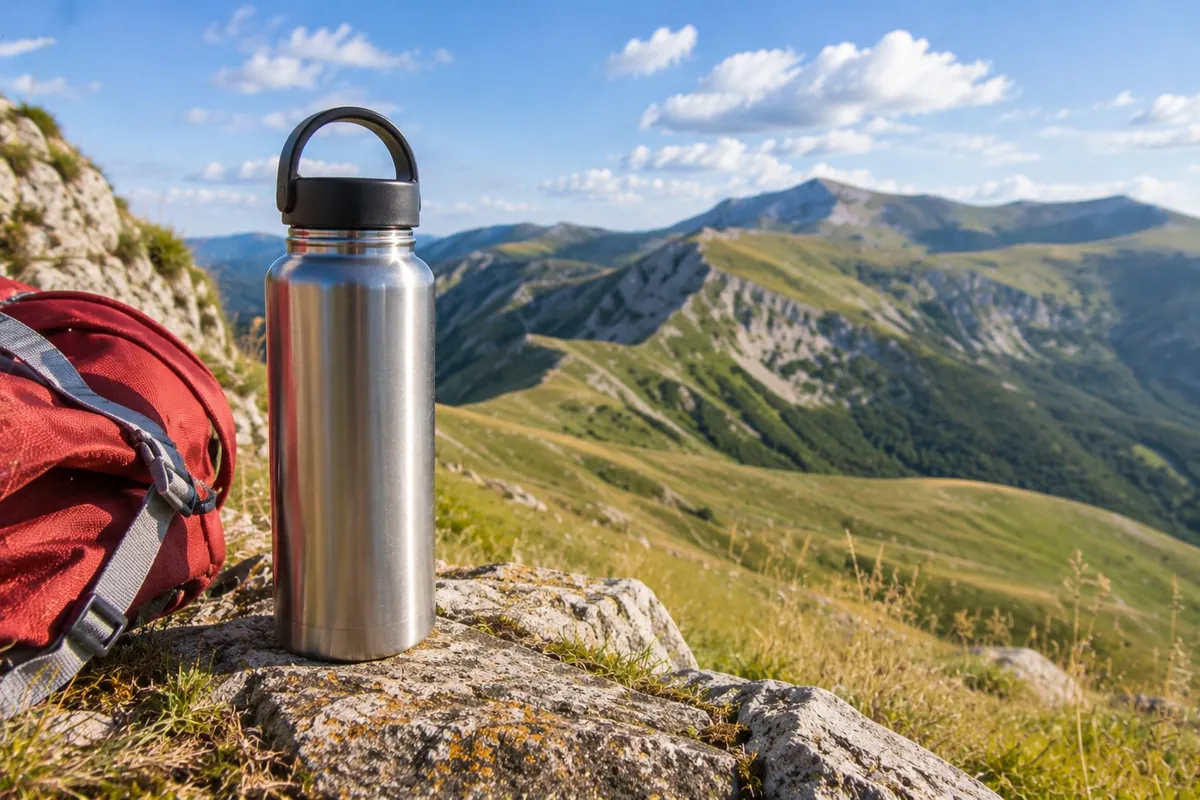
An insulated water bottle for hiking keeps a drink hot or cold for many hours thanks to a double steel wall with a vacuum gap. Choosing one well takes only a few elements: a capacity suited to the use, a lid that does not leak in the backpack, an opening that allows cleaning and, above all, the certainty that it really is vacuum-insulated and not a simple metal bottle.
On a hike it works both ways: cool water on summer days, tea or a hot drink when it is cold.
Insulated water bottle: how to choose
Understanding how it works. An insulated bottle has two walls, and the air between them has been removed. This airless gap slows the transfer of heat, so the drink stays at its starting temperature for a long time. It is the same principle as a thermos. The outer wall stays at room temperature, so it does not get hot or covered in condensation. A single-wall bottle, even in steel, does not insulate.
Choosing the material. If the insulating function is needed, the choice is double-walled 18/8 stainless steel: it is sturdy, does not alter the taste of the drink and does not hold odors, so it can go from water to herbal tea with no aftertaste. It has two drawbacks, weight and price, both higher than other materials. Aluminum is light and inexpensive, but it is usually single-walled, so it does not insulate, and it has an inner lining. Plastic is extremely light and unbreakable, but it is not insulated and can hold odors. Glass has a neutral taste and is easy to clean, but it is fragile and not insulated: it suits home and office.
Choosing the capacity. The most common sizes are 500, 750, 1,000 and 1,500 milliliters. For a bag and for children 350-500 ml is enough; for the office or school 500-750 ml; for sports, the mountains and hiking it is worth going up to 750 ml, a liter or more. For a short outing a compact model may be enough, while for multi-day treks a larger capacity is better. Weight should be taken into account: the bigger the bottle, the heavier it is when full.
Choosing the lid. A screw cap gives the best seal and does not leak in the backpack. A spout or a straw is convenient for drinking while walking. The simpler the lid, the easier it is to clean: those with many joints collect dirt.
Insulated water bottle: what to look for
How many hours it really lasts. A good insulated bottle keeps drinks hot for about 12-18 hours and cold for about 24 hours, even longer if ice is added. In practice, performance depends on three factors: capacity, because a large, full bottle performs better than a small one; filling, because the more air left inside, the faster the temperature changes; and the number of openings, because each time room-temperature air gets in.
Wide or narrow mouth. A wide opening is more convenient for filling, adding ice and cleaning the inside. A narrow opening is more practical for drinking without spilling.
BPA-free. Bisphenol A is a substance found in some plastics and some inner linings, which can pass into drinks, especially in the heat. With 18/8 steel the problem does not arise, because the liquid touches only steel. For plastic or aluminum bottles, look for the "BPA-free" label.
Practical details. A handle or a carabiner for hanging it, a non-slip base and an outer coating that does not slip from the hands are useful details, especially in the mountains and when traveling.
Carbonated drinks. Fizzy drinks build up pressure inside the bottle. Not all models are suitable: it is worth reading the manufacturer's instructions, which state which drinks can be used.
Insulated water bottle: practical tips
Fill it to the top and open it rarely. This is the simplest way to get the most from it: less air inside, less exchange with the outside.
Prepare it before filling. For hot drinks, boiling water can be poured into the bottle, left for a few minutes and then emptied before adding the drink. For cold drinks, do the same with water and ice, or chill the bottle in the refrigerator.
Wash it after every use. The bottle should be emptied and rinsed right away, without leaving liquids inside for hours. Wash it by hand with hot water, dish soap and a long bottle brush that reaches the bottom. The lid gasket should be removed and washed separately: it is the most neglected spot, and it is where dirt and odors build up.
Let it dry open. The most common cause of bad smells is closing the bottle while still damp, perhaps with traces of tea or sugary drinks. It should be left to dry completely, open and upside down.
Remove odors with baking soda. If there is already an odor, fill the bottle with hot water and one or two tablespoons of baking soda, or white vinegar, and leave it for a few hours or overnight. Then use the brush, clean the gasket and rinse well.
Avoid the dishwasher. In most cases heat and harsh detergents damage the outer finish and, over time, can compromise the vacuum, which is precisely what provides the insulation. The exception is models for which the manufacturer expressly states that dishwasher washing is possible.
Complete the gear. For carrying the bottle on a hike there is the guide to the hiking backpack; for the rest of the equipment, a good starting point is the mountain hiking gear buying guide.