


Hiking Backpack: How to Choose and Pack It
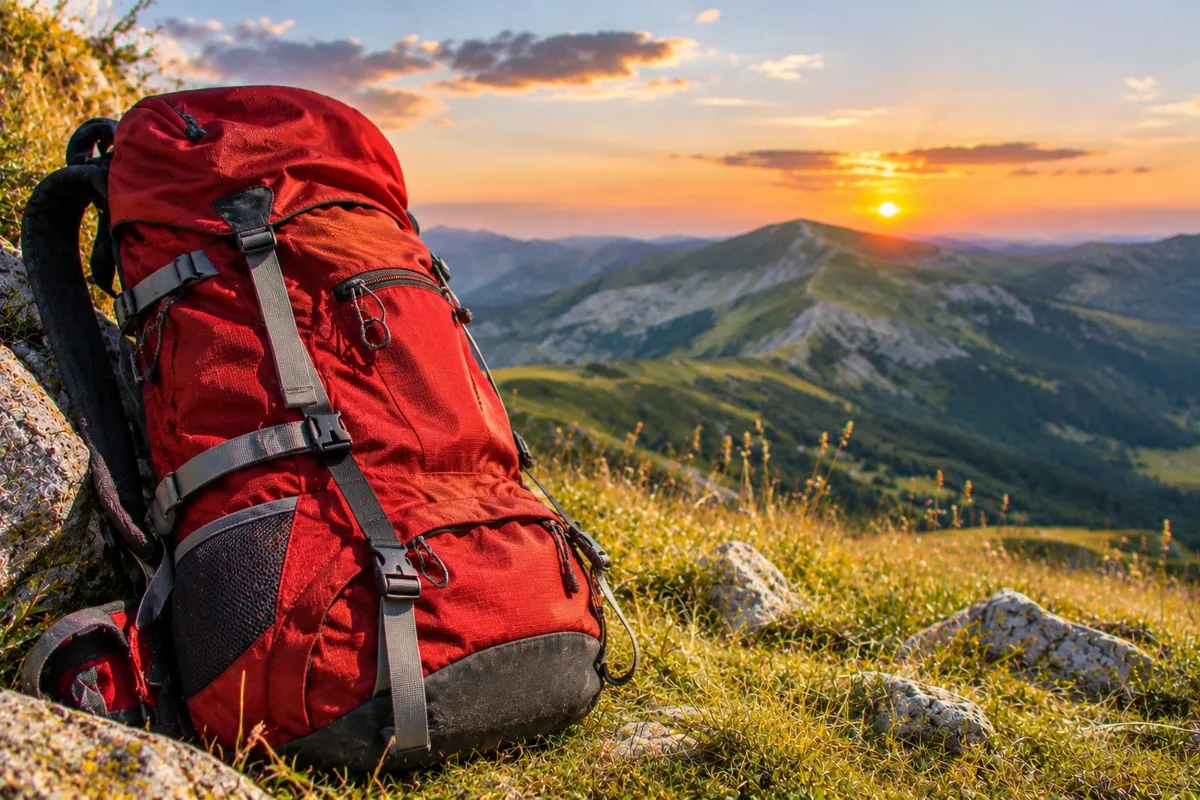
A hiking backpack is chosen by looking at three things: capacity in liters, the back panel and the hip belt. Capacity depends on the length of the outing: for a one-day hike between 20 and 35 liters is enough, for a multi-day trek you start at 35-50 liters. The back panel must match the back length of the person carrying it and let air through. The padded hip belt transfers much of the weight onto the hips and legs and takes load off the back.
The most common mistake, however, concerns the load: filling the pack with unnecessary gear. Saving weight means saving effort, and choosing a backpack starts here.
Hiking backpack: how to choose
Start from the length of the outing. For an easy hike 15-20 liters is enough, with a pack weighing less than 1,200 grams. For a day hike 20-35 liters is needed and the pack weighs between 1,400 and 1,700 grams: a 30-liter hiking backpack falls into this range. For a multi-day trek you move up to 35-50 liters, with a pack weight between 2,000 and 2,500 grams. For longer outings and nights in a tent, it goes up to 50 liters and more, as much as 80.
Take the season into account. In summer a smaller volume is enough, because clothes are lighter. In winter the gear is heavier and a larger volume is needed.
Decide how much weight to carry. The most prudent guideline for the loaded pack is between 15 and 20% of the carrier's body weight, with the lower value for those less fit. For a fit person, over extended periods, the ceiling is 20-25% of body weight. Capacity alone does not say how much you will carry: what you put inside is what counts.
Try it loaded. There is only one reliable way to check the right back length: by wearing the pack. In the store, it is worth asking for gear to fill it, not just bulky but also heavy, putting it on and walking around for a while. You can tell right away whether that model suits your build and posture.
Hiking backpack: what to consider
Back panel. A solid, padded back panel leaves your back wet on arrival. Better a back panel that lets air circulate between pack and back, with a suspended mesh or ventilation channels, and that can be adjusted in height according to the load and the shape of the back.
Back length. It is the distance between the seventh cervical vertebra, the one that sticks out at the base of the neck when the head is bent forward, and the top edge of the hip bone. It is measured with a tape measure placed on the vertebra and run down along the back; a belt fastened above the hips helps find the end point.
Women's hiking backpack. Women's models have a shorter back panel, because on average the female back is shorter. The shoulder straps are narrower, closer together and with a more pronounced S-curve; the hip belt wings are shaped to follow the hips. Size does not depend on gender alone: the measurements of women's and unisex models partly overlap, and shoulder and hip width matter. A man with narrow shoulders and hips may be comfortable with a women's model, a woman with broad shoulders with a unisex one.
Hip belt and shoulder straps. The hip belt must be padded: the simple webbing straps of older packs do not transfer weight well. The shoulder straps must also be padded and adjustable.
Shape. A pack that extends in height more than in width makes walking more comfortable and balanced. An elongated egg shape, with no protruding pockets or parts, avoids getting caught or torn in narrow passages and vegetation.
Pockets and access. Side pockets are for the water bottle and for what must stay within reach, the front one for the rain jacket or the map. Useful features are separate access to the bottom section, to reach what is at the bottom, a compartment for the sleeping bag if sleeping out, a hydration reservoir sleeve and attachments for trekking poles. Large external pockets reduce stability: small or stowaway ones are better.
Rain. Many packs have a pocket with a rain cover. If it is not included, buy one separately: it is an accessory worth having.
Hiking backpack: practical tips
Carry only what is needed. There is no list that works for everyone: the contents change with the difficulty of the hike, the season, the weather conditions and experience. For a one-day outing the basics include food and a full water bottle (there is a guide on the insulated water bottle), a warm fleece, a spare T-shirt, hat, sunglasses and sunscreen, rain jacket, pack cover, headlamp, first aid kit, emergency blanket and whistle. A topographic map and compass are also needed: the subject is covered in the guide to hiking GPS and navigation. For the layers to bring, there is the guide to mountain hiking clothing. In winter, add warm gloves, a beanie, thermal underwear, gaiters and hot drinks.
Load the weight against your back. Heavy items, such as food and water, should go as close to the back as possible: that way the shoulder straps pull less and the pack does not tip you backward. Light, bulky items and those used least go at the bottom; small, frequently used items in the top pocket. The weight should be balanced between the two sides, so the pack does not lean. On steep mountain routes the center of gravity should be kept a little lower, close to that of the body: keeping balance is easier, and on these stretches a badly loaded pack becomes a safety risk. It is best to hang as little as possible on the outside. Those setting off for several days add the overnight load: a camping tent is heavy, and it too goes against the back.
Adjust the pack in this order. The adjustment is done with the pack loaded with a realistic weight.
- Hip belt. Position it just above the buttocks, so the weight rests on the hips, then fasten it.
- Shoulder straps. Tighten them next, without pulling them too taut: the hip belt carries the main load. A finger should fit between strap and shoulder.
- Sternum strap. Adjust it in height and fasten it without restricting breathing.
- Load lifters. They sit above the shoulders and pull the load closer to the back. Uphill they can be loosened, downhill they are tightened to stabilize the pack.
Before setting off, take a few steps and correct: the pack must not create painful pressure points. On multi-day hikes the adjustment should be fine-tuned along the way.
Protect the contents from water. Waterproof bags, even kitchen ones, weigh nothing, keep gear organized and save clothes in case of rain. Dry bags are a reliable alternative to the pack cover.